Last week we returned from one of the most beautiful & family friendly destinations in the United States, a road trip through part of the Southwest. Continue reading for information about my planning process, organization & packing tips/hacks that will help you plan your own amazing road trip to the Utah’s Mighty 5.
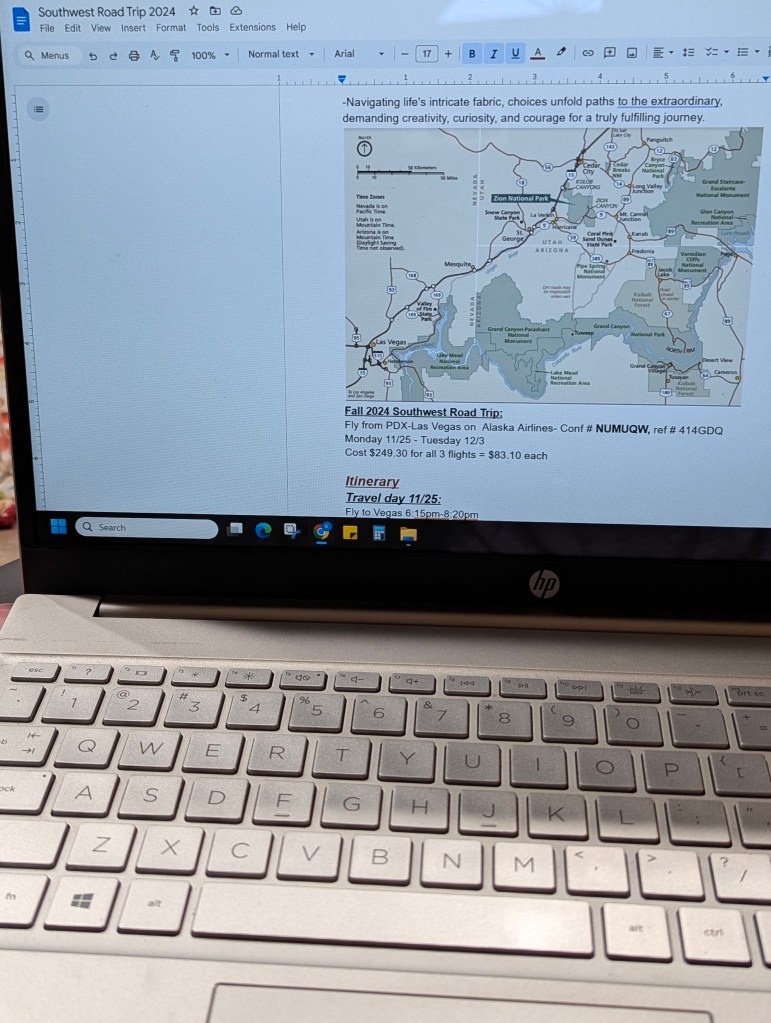
For our southwest road trip I spent approximately 2 & 1/2-3 months collecting information, reading travel blogs, travel guides, websites, Pinterest searches and watching specific southwest related youtube videos. From those I collected information, gained insights and tips that were included in our itinerary. With the research and wealth of information I gathered I made notes of: the name of hikes, specific destinations and restaurant recommendations, epic viewpoints etc. so I was able to look them up later. A lot of the information I gained was from reading. As I’m reading about a destination I like to take snapshots/snippits of that information and add it into Google docs with a pic of the destination/location or activity as well (a visual really helps with my frame of reference when looking through the doc later on & while on our trip). I’ll also star or asterisk locations and highlight them so we know they’re important to us & reminders not to skip them. Doing this has been one of the best ways to ensure we visit the destinations that are priorities to our group. I also recommend making an excell spreadsheet of all the destinations and breaking the blocks into time chunks, but I recommend doing what feels the most useful for you and your family.
When I first start to plan an upcoming trip the very first thing I do is grab a notebook, pen and some post it sticky tabs and create a list of the destinations I know I want to include in the itinerary. Then I ask my travel companions (usually my husband and our kids or several girlfriends) for things that they want to do, see or anything they want to include in our trip and add that to the list. Next I begin to research the things on our list and add them to the Google Doc for organization (and easy access later on. I love that I can share the doc with anyone I’m traveling with as well as other family members or friends so that someone will know where we will be & can contact us if needed). Another great feature is that it’s easy to open the doc while you’re traveling or print a copy if you prefer. I generally begin my research for an upcoming trip anywhere from 3 weeks ahead all the way to 2 years before. It really depends on the destination, what we’ll be doing, the length of our trip and on the amount of time I have for preparation/notice I have beforehand (that will determine how much time I spend) for research.
After I add information to the Google Doc I go through it and type each location into Google Maps in order to map out the order in which to visit each place. A great benefit of doing this is that I’m able to determine the distance between locations & if something is too far out of the way I can easily make adjustments to the itinerary as needed. This also allows us to maneauver our days/trip in order to accomodate specific sights or make allowances in our time as needed and whittle things off the list as well. Another thing I like to do is spend some time zooming in on Google Maps to the areas we’ll be visiting. This helps me see the sights that “Maps” highlights in those areas. I’ve found a lot of hidden gems this way. I also like to head to websites dedicated to areas we’ll be visiting such as the National Parks website (one of our best resources for this trip since we were planning to visit 5 of them) to update my information if trails are closed, find useful insights and printable maps of the locations we plan to visit.

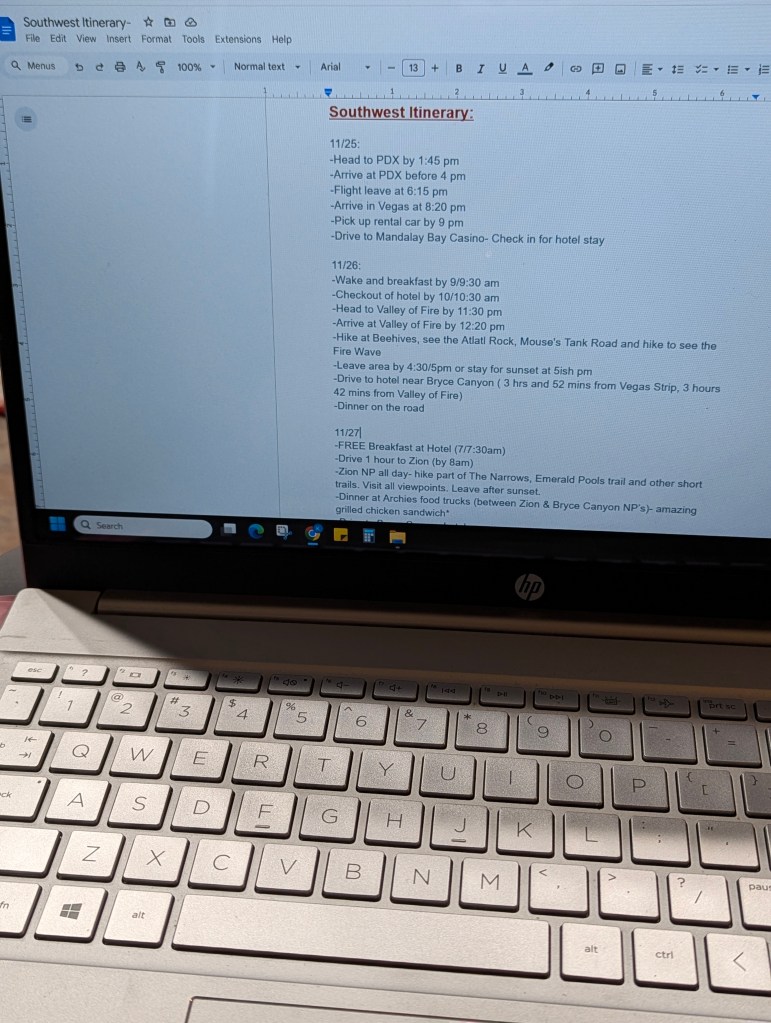
When I’m finished with the research portion of planning I move to the organization phase where I’ll transfer the information from one Google Doc to another which I title our itinerary. On the itinerary I list each day of our trip as a category and include our accomodation, food stops and travel times between main points as sub categories. The order of our stops are usually listed by time of day (if we are on a stricter time schedule I guestimate (time frame we should aim for) arrival/departure times stated for departure/arrival at destination and time to depart for the next destination are included).
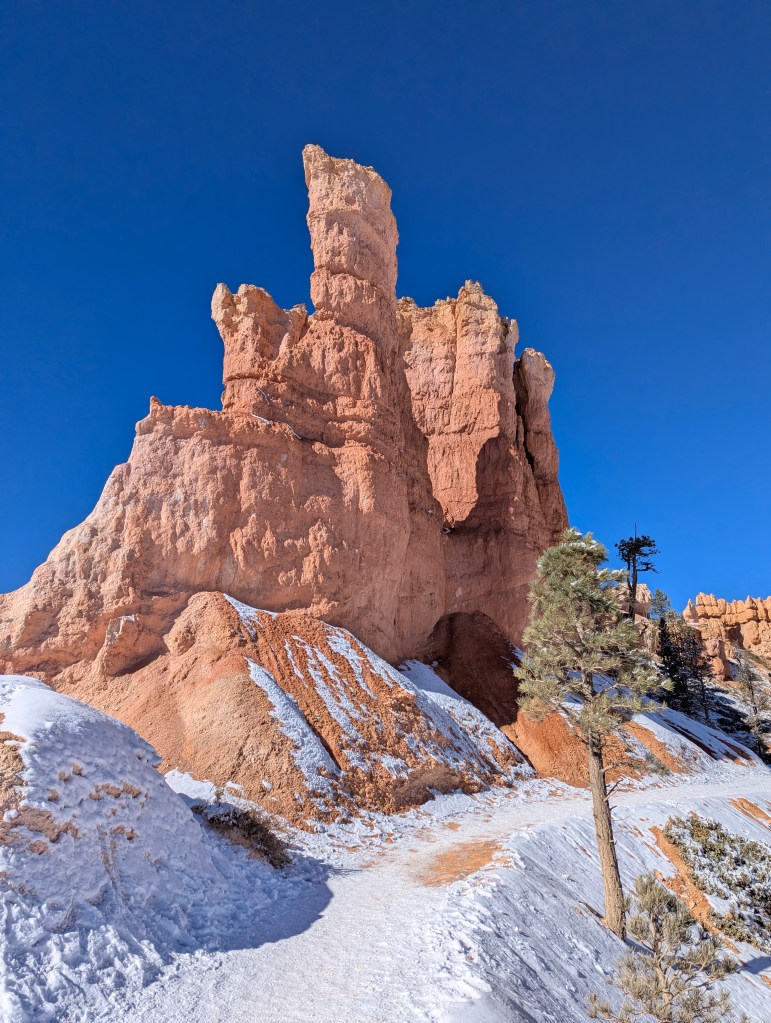
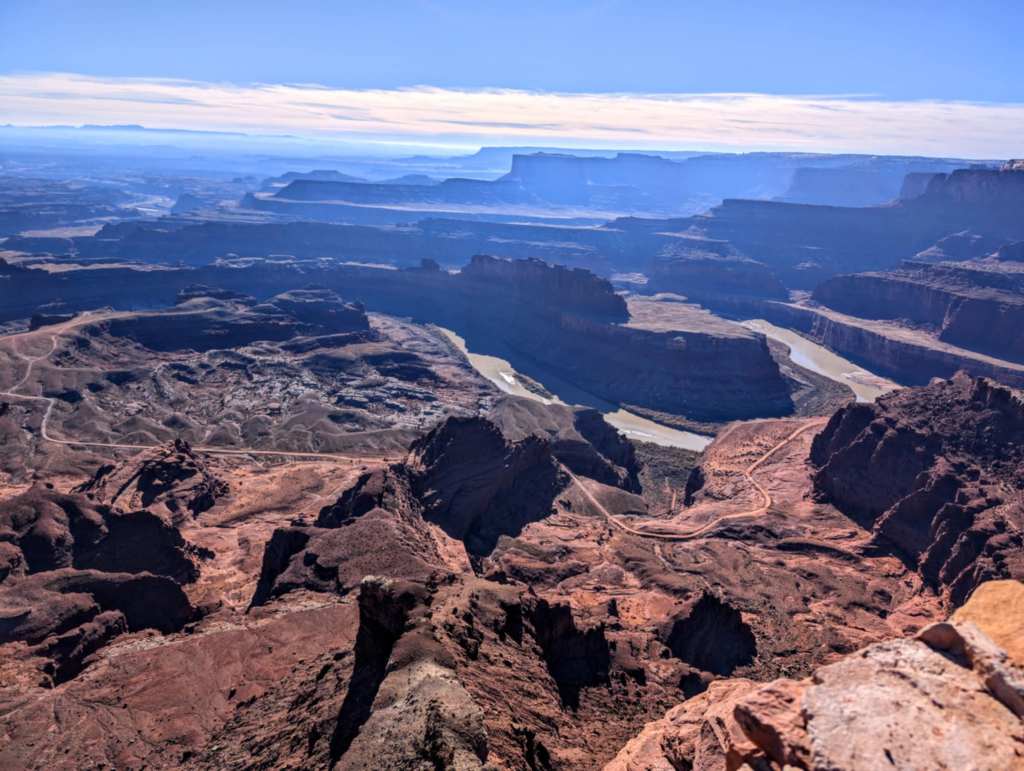
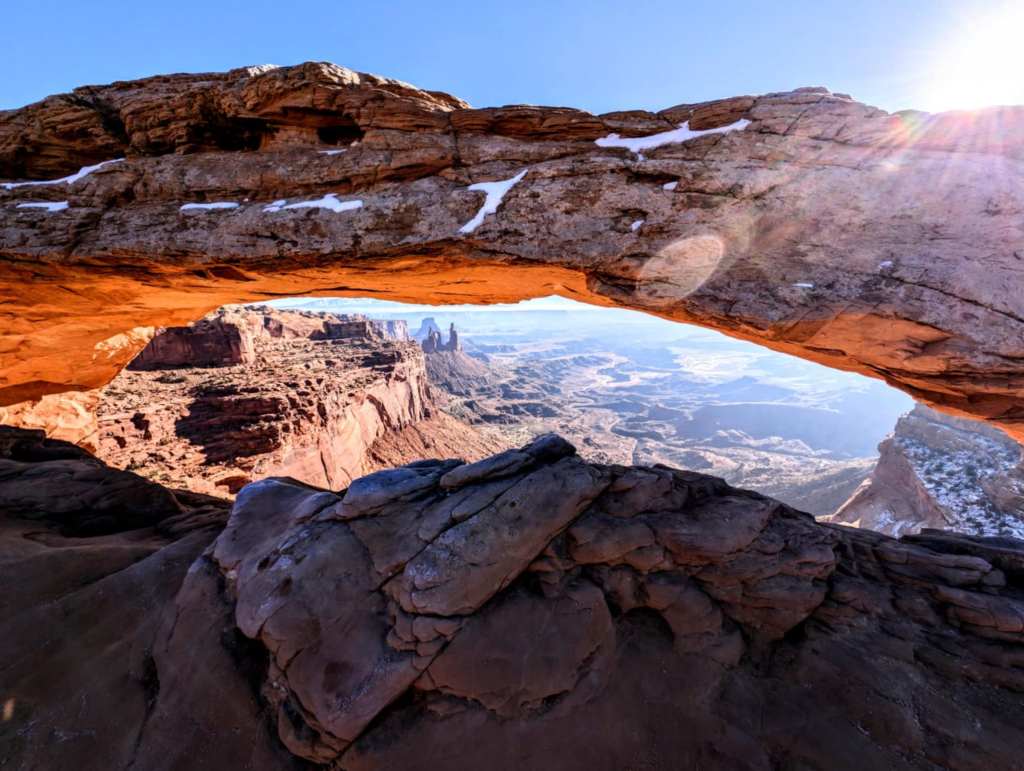
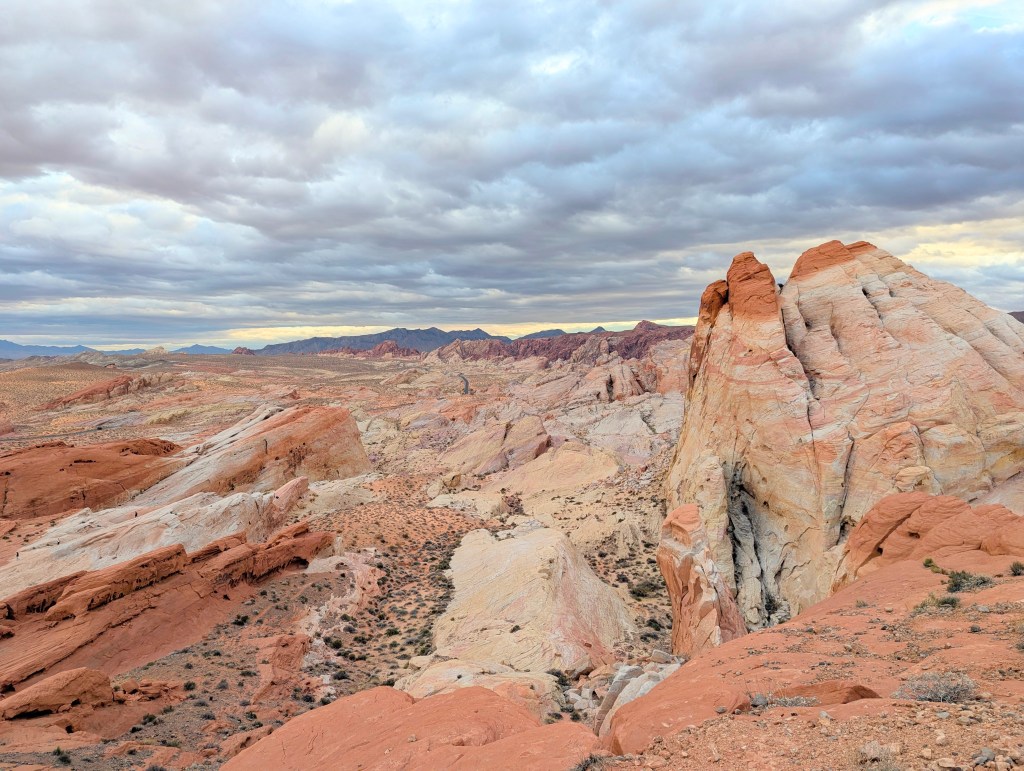
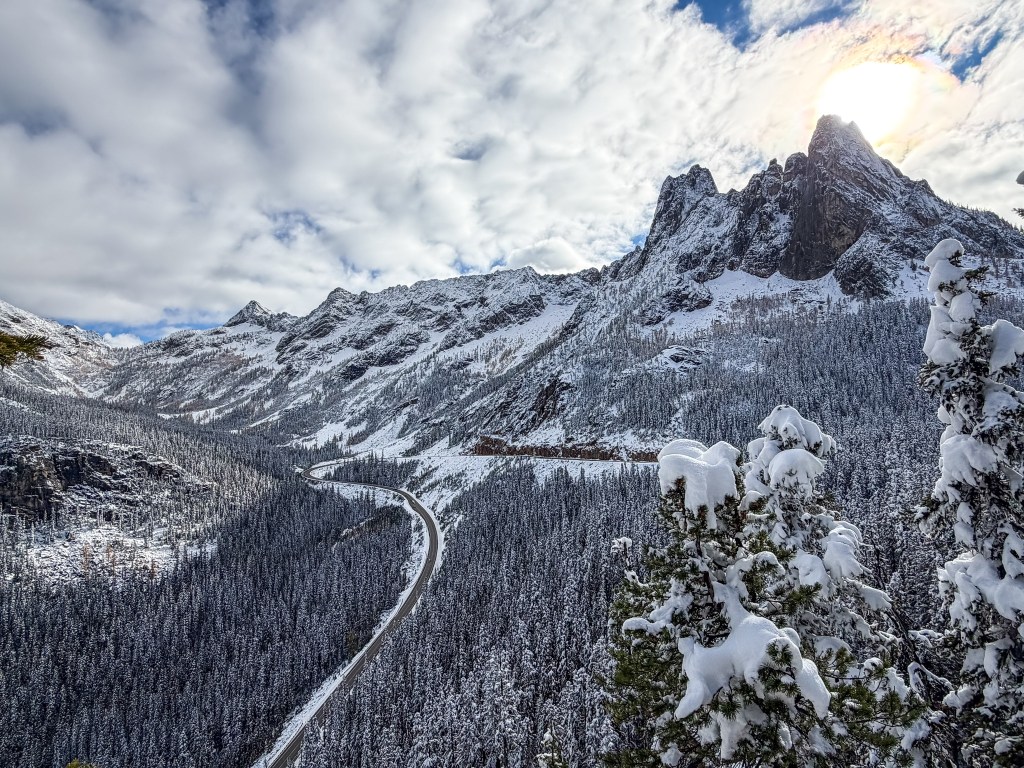
Another tip for anyone planning to visit the Mighty 5 is to determine the best route to cisit each park. This will largely be based on your starting point, where you will fly into or the city you will begin your road trip from. For us we started and ended our trip in Las Vegas and had to account for our drive time to and from the furthest destination of Arches NP which is over 6 1/2 hour drive apart. Due to that fact we began our trip with an overnight stay in Las Vegas, spent the next day at Valley of Fire State park in Nevada before making the trek across to our accomodations outside of Bryce NP. *I highly recommend you verify the route if you will be driving this at night. We ended up in an unexpected blizzard/snowstorm with white out conditions as we were driving through the pass and that was a bit sketch! Thankfully we knew where we were going but it didn’t make the trek any less creepy while we were the lone car on the top of a mountain pass with hail, sleet, and crazy patches of white out conditions while we made it over the mountain! If you’re interested in seeing our full route you can check it out here:
Once all of the pre-planning is finished I look at weather and look into typical weather patterns for the area (about a month or two before). Then I like to keep an eye on it again about two weeks prior to our trip to help with packing & again the day before departure. Having an idea of temperature range and learning if the weather is reliable or tends to be finicky during the time of year I’ll be visiting an area really helps when planning my wardrobe and what to bring for a trip. With this information I make a list of all the items I’ll need to bring, items I might still need to purchase and begin to gather those things and my suitcase/travel gear together. I always use the 9 grid to help me figure out my outfits, maximize space and keep me organized! About 2 weeks before a trip I do a preliminary packing trial to ensure everything I need is available, clean and fits in the luggage I intend to bring. Doing so early allows for lots of time to make adjustments and add or remove items as needed. I’ve included a FREE copy of my 9 grid packing list below, you can find the free printable of my grid here:
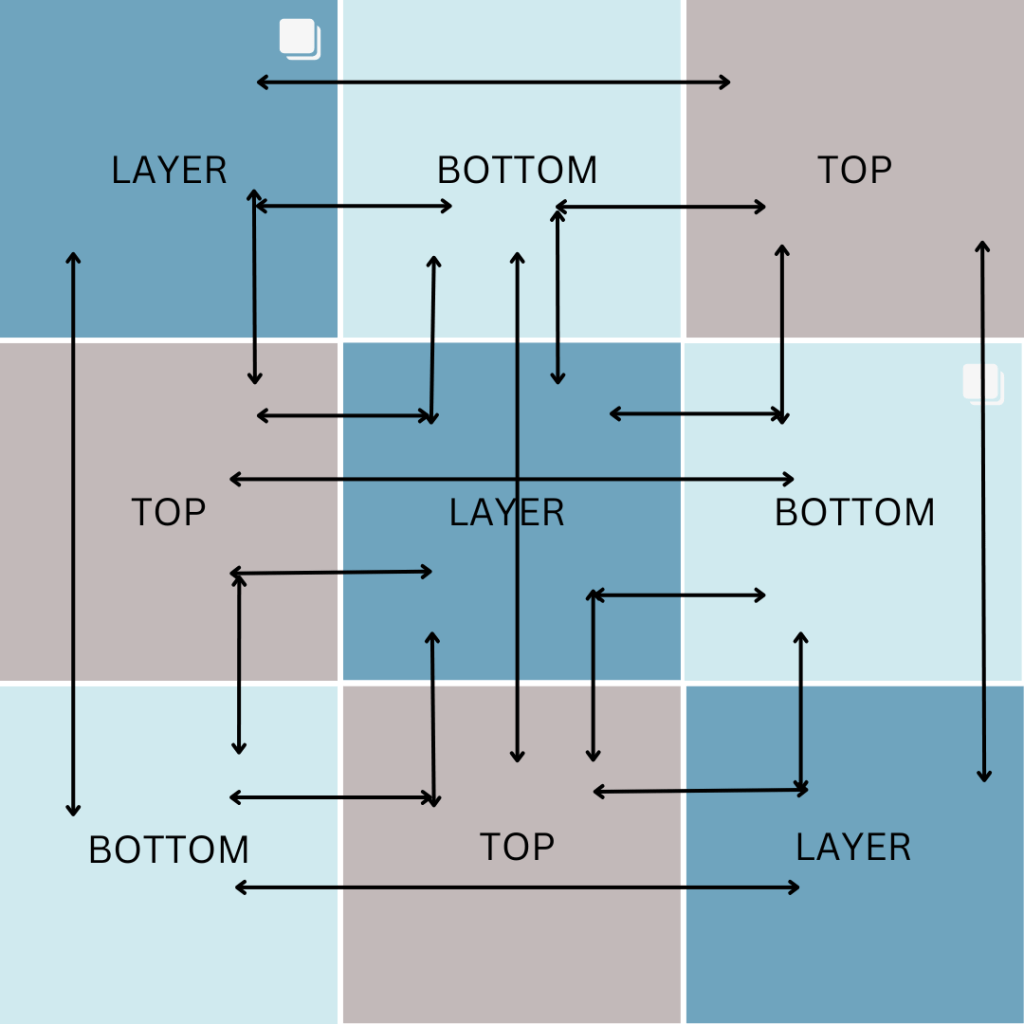
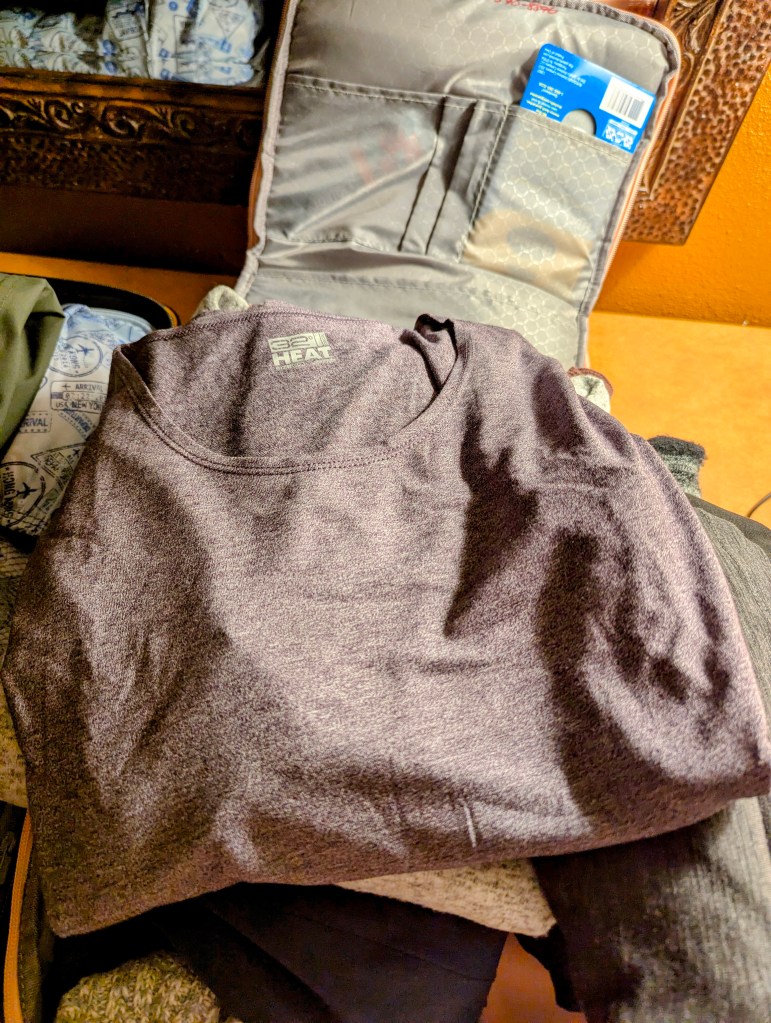
After my preliminary assesment of clothes I organize them into outfits, pairing 1 bottom to 2 tops and a layering piece that can double as a layer for another outfit as well. After organizing outfits I like to arrange them by days and either slip a little sticky note with the date/activity or location that I’ll be wearing the clothes into one of the pockets or inside the neck of the top. On the note I also like to write coordinating pieces that I’ll wear with it (this step helps save time when I arrive at the destination and can simply grab the pieces, slip them on and head out the door 🙂 ) *For a winter trip to the southwest I recommend: packing merinotech base layers & silk base layers, 32 degree puffer or vest, smartwool socks, a packable puffer jacket, warm hat, gloves and rechargeable hand warmers *found on my Amazon storefront along with my other must have items for the perfect getaway in the Southwest. Find at the link below:
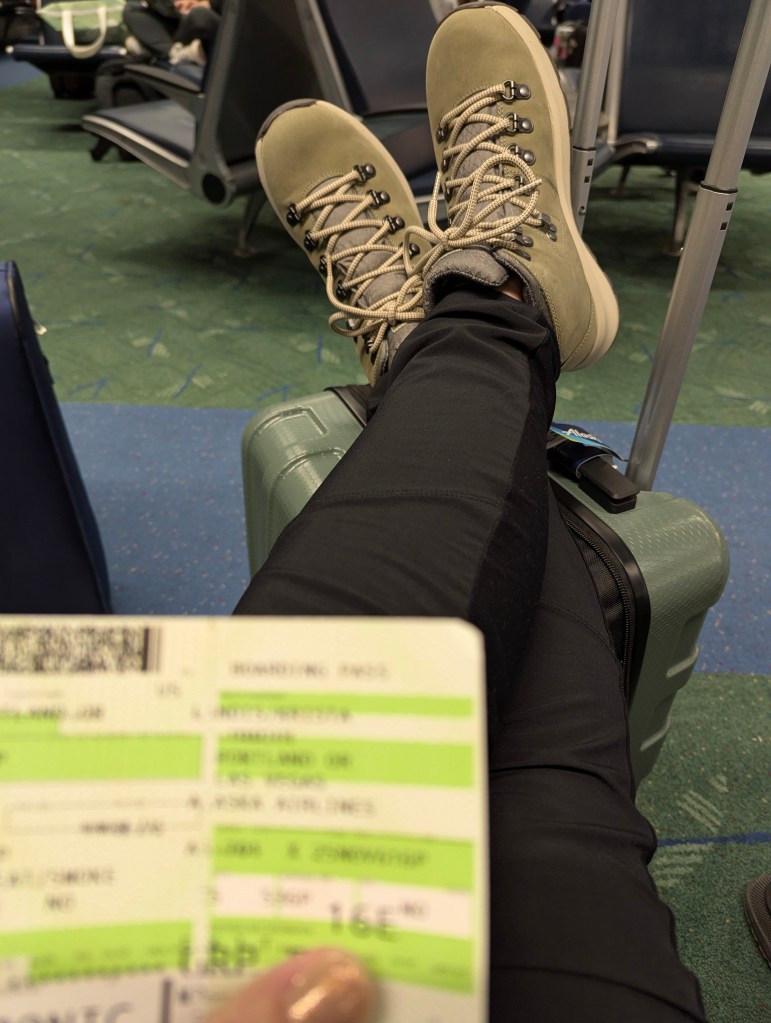
In order to fit everything into my luggage I’ve discovered that a combo of compression packs, rolling items & utilizing every inch of space in my bag with special tricks (like rolling socks and storing them in my shoes) ensures I’m able to fit everything. Other space saving tips are: to create a capsule wardrobe that includes 3 bottoms, 3 tops, 3 layers (*using the 9 grid packing list) that are all interchangeable/mix and match with everything else and use that as your basic plan for packing. It also helps if everything can be worn with 1 or 2 pairs of shoes. At the most 3 pairs, but I recommend limiting yourself to 2 pairs if you can. To assist you with maximizing space it is ideal to only bring 1-2 outerwear pieces and to carry one of them onto the plane with you. Another way to save space is to wear your heaviest/bulkiest pieces as your travel outfit on the plane.

A few other ways to save space is to use (non liquid) shampoo & conditioner bars, toothpaste tablets, and to decant lotions, creams, moisturizers & makeup into contact lens cases or small stackable, lided containers. They will keep your lotions and potions/makeup easy to transport and will only use a fraction of space compared to the traditional travel size bottles. Other tips are to take minimal jewlery and store your extra pieces in a portable pill container or small jewlery box. *I also highly recommend stashing a tile tracker into the zippered lining at the base of your suitcase, this makes it harder for anyone/a thief to discover your tile and will help you track down your luggage if it goes missing.
After everything is laid out I seperate each outfit and lay them in order by date that I will wear them, then I place days 1 & 2 into one compression bag, day 3 & 4 into another and so on until each day is packed. Anything too bulky or delicate will either be rolled or gently placed on top of the compression bags once they are placed into my luggage. Depending on space I will also add a reusable laundry bag laid flat or folded and squished in where there is space. Then I add my additional pair(s) of shoes to a shoe cover bag (with socks and small items stuffed inside each shoe) (*if you don’t have any you can place each shoe into a shower cap) to prevent dirt and germs from touching the other itmes and place the bag into the middle of the suitcase and adjust to make the most space. To this I will add my cami’s, any extra socks, my undergarments (stored in their own small compression bag), an eye mask, toiletry bag, pajamas, & fuzzy slipper socks and other additional items depending on what I need to bring.
I recommend carrying the most essential items in your personal item. For me this includes (everything I wouldn’t want to attempt to replace if the airline lost my luggage), jewelry, makeup bag, travel toothbrush, travel hair brush, travel pack of tissues, earplugs, and other in flight necessities as well as my cable case, phone charger, portable charger/port, ear buds, camera or tripod and at least 1 change of clothes (especially if travelling internationally!). Then I tuck a tile tracker into an inconspicuos spot *just in case I’m seperated from my bag so I’m able to track it! Lastly I’ll add a printed copy of my itinerary & important confirmation info as well as store some snacks for flight/airport and will stash my phone, id, credit card, some cash, hand sanitizer and chapstick in my travel purse.
That’s it, I’m all set and ready for the trip! And hopefully you are too! *Over the years I’ve learned some important life lessons & that the key to having a fabulous trip is to go with an open mind (ready to embrace the adventure ahead), a positive attitude and a grateful heart. If you pack those three things you’ll have a wonderful time, anywhere you are & no matter what happens!


Let me know in the comments if you have any questions or would like anything detailed further. 🙂
Until the next time happy adventuring everyone!
~Krista

All rights reserved, Stamps in My Passport 2024


Leave a comment