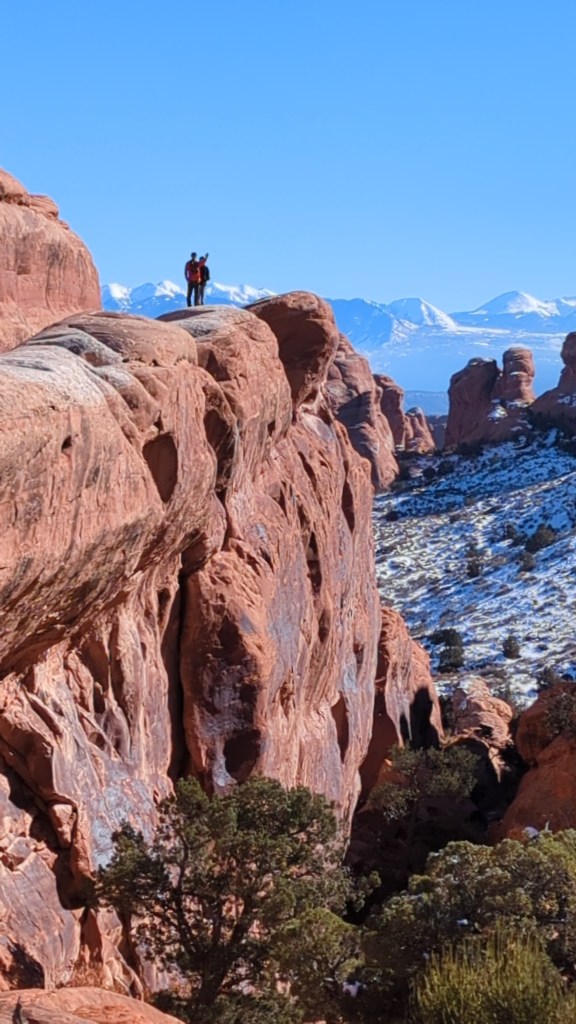
Arches National Park is a breathtaking wonderland of towering rock formations, delicate arches, and rugged desert landscapes. While many visitor’s stick to the main trails and popular viewpoints, those who seek a thrill and more adventure will want to include the challenging terrain of “The Devil’s Garden” trail. *If you’re looking for jaw dropping views, a heart-pounding experience, scrambling over rocks, scalling boulders while immersed in scenic views sprawling across the desert in every direction & seeking the serenity of wandering where the landscape feels unreal, this is a hike you’ll definitely will want to include on your Utah itinerary!
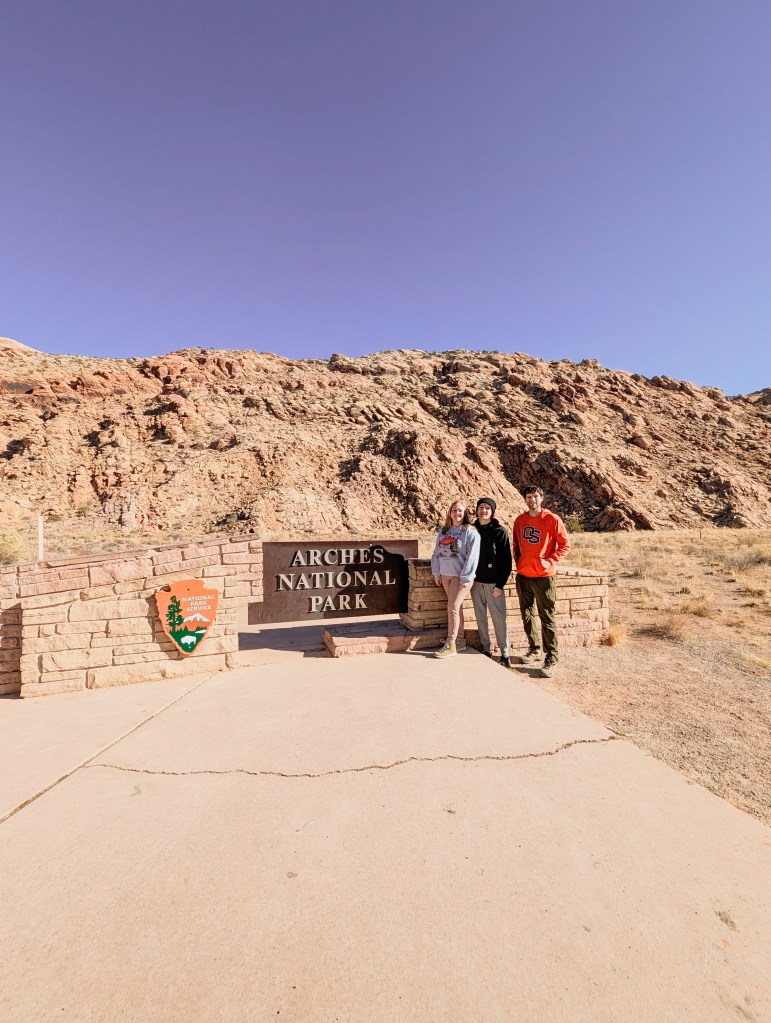
It was a brisk 29 degrees and a bright sunny morning when we left our hotel near Capitol Reef NP at 6am and made the 2 hour drive to Arches NP. We chose to arrive at the park early in the morning so we could make the most of the daylight and start our hike as early as possible. Due to our trip being the first of December we didn’t want to be out in the middle of nowhere, clamboring up and over massive boulders and running out of daylight.
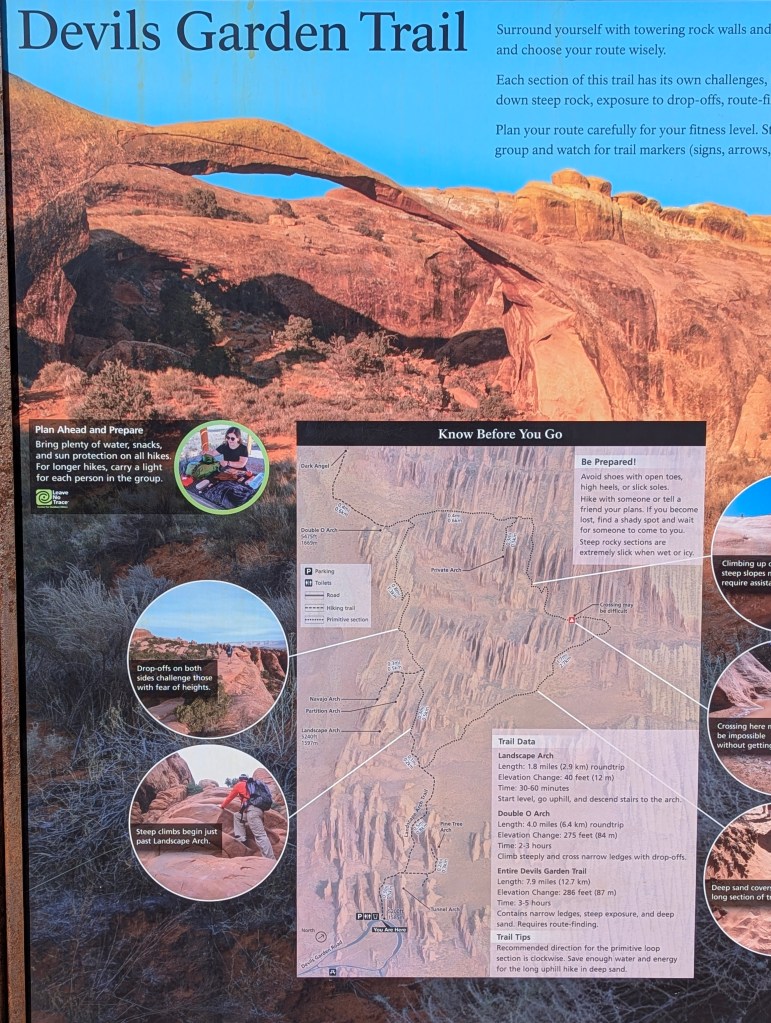
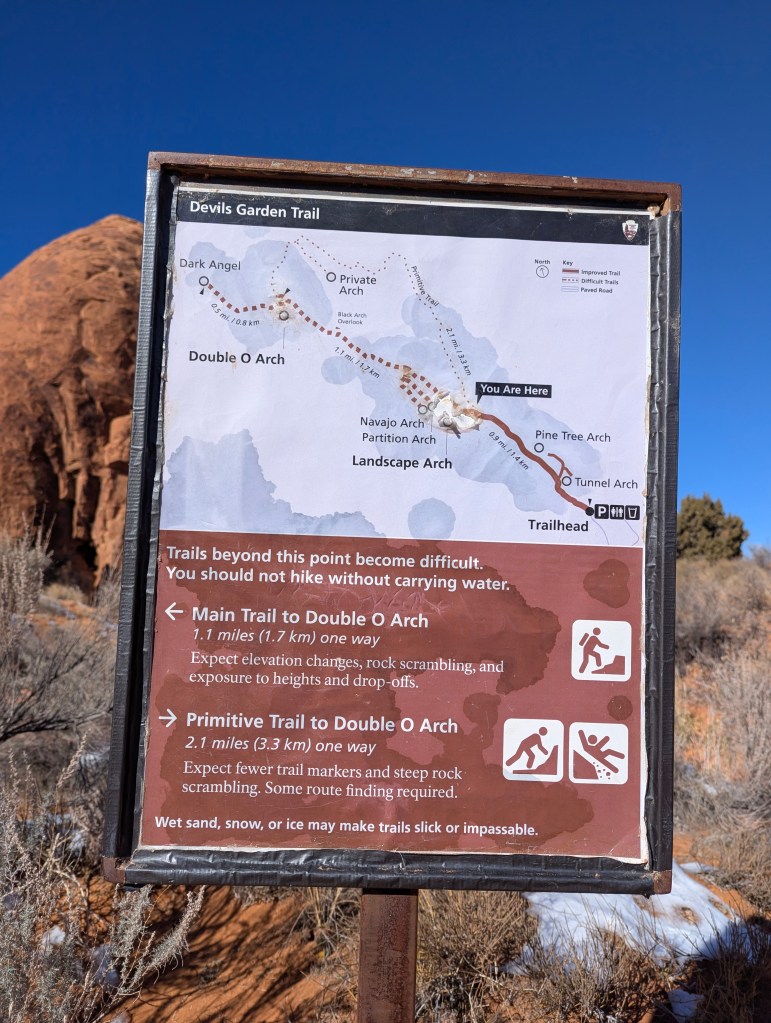
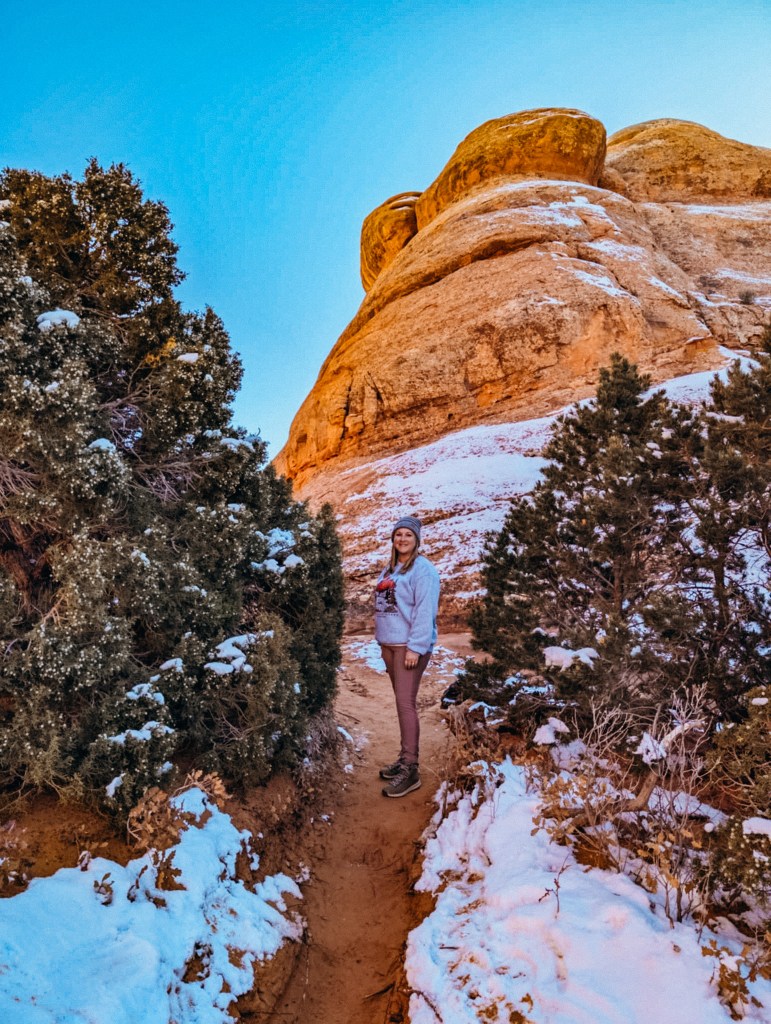
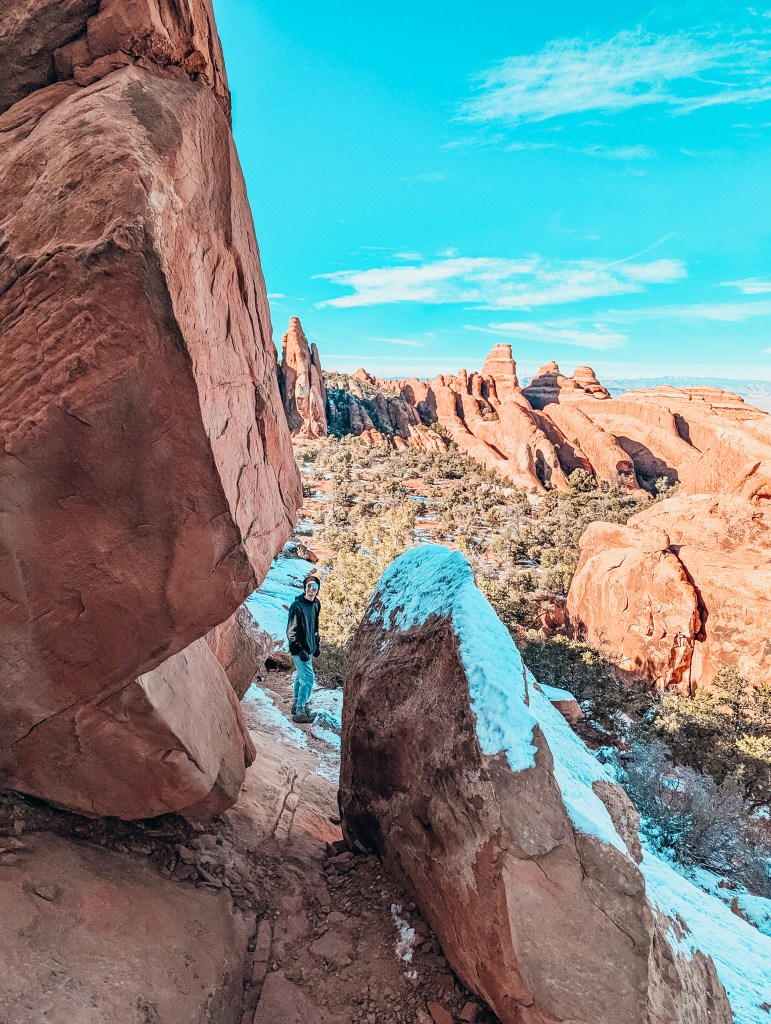
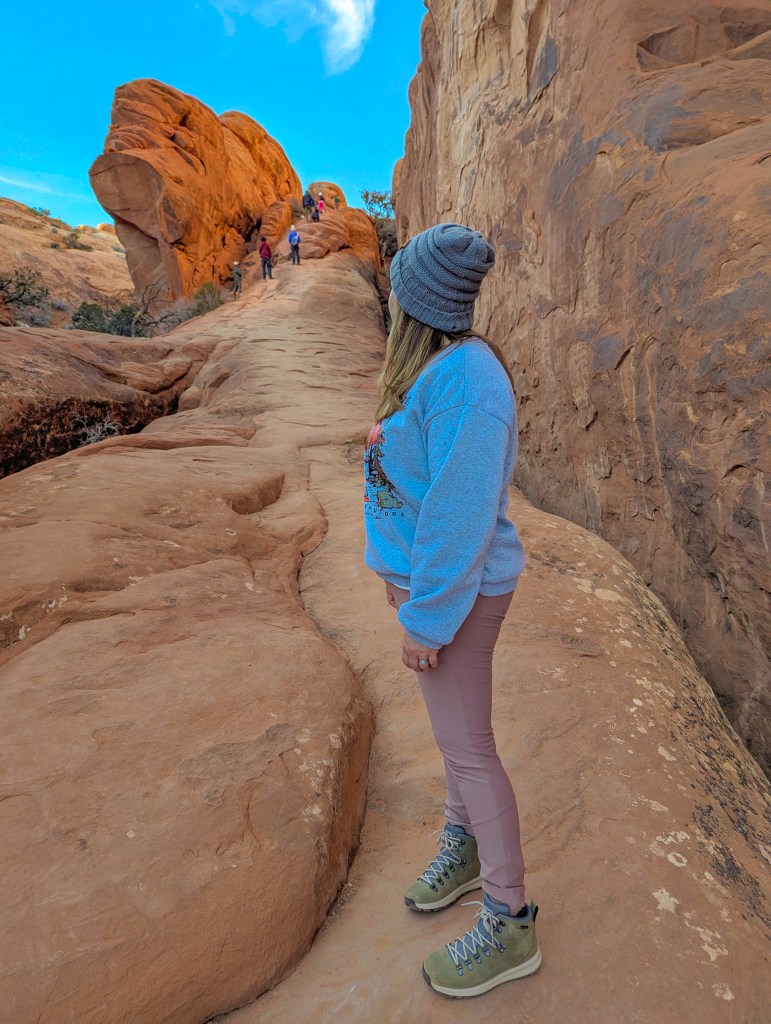
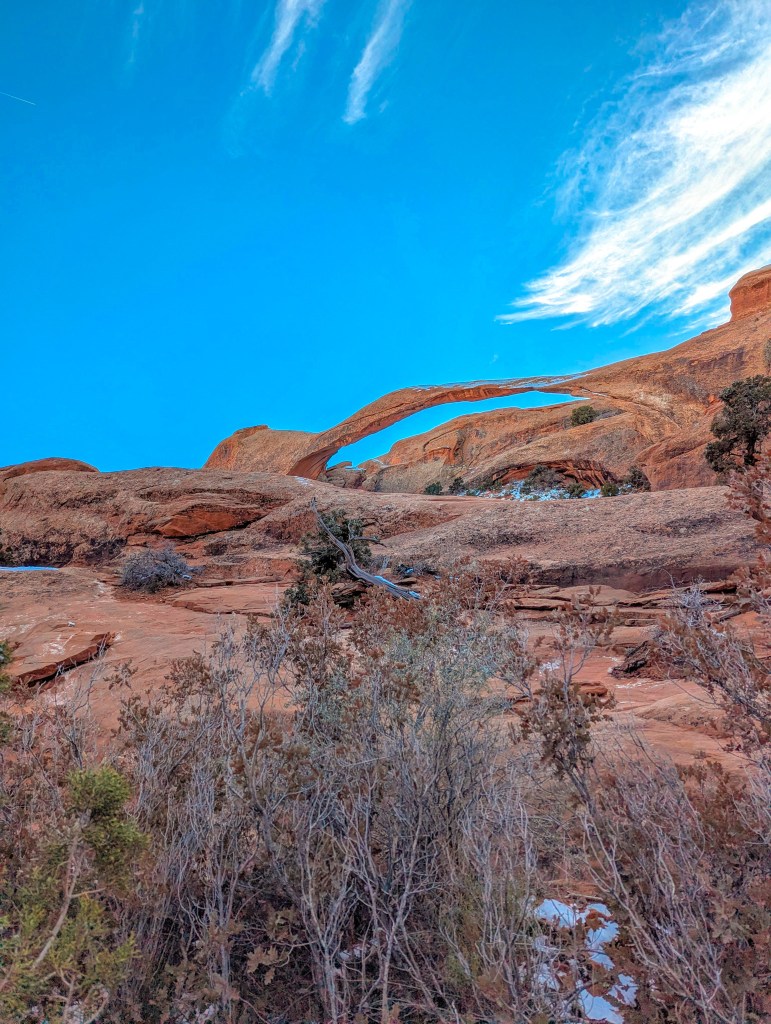
The portion of the trail we decided to hike was about 6 miles round trip from the parking lot to Landscape Arch, Partition Arch, Black Arch Overlook, Double Arches and Black Angel. Most of this trail is covered in gritty sand from the trailhead up to the first stop at Landscape Arch so it can be a bit treacherous in winter when that is combined with snow/ice patches. Beyond Landscape Arch the trail begins with a sketchy ascent up a large steep boulder covered in dust and sand, other parts of the trail require climbing up massive boulders, steep rock faces, traversing across narrow pathways and quite a bit of navigating the trail on your own due to several areas only having a few mile markers to rely on. Most portions of the trail are very cold in winter due to the high altitude and layer of snow on the ground. Many areas along the trail are shaded and under the shadow of the massive boulders that can cause the trail to be very chilly, so I recommend hiking with warm layers in the late fall/early winter.
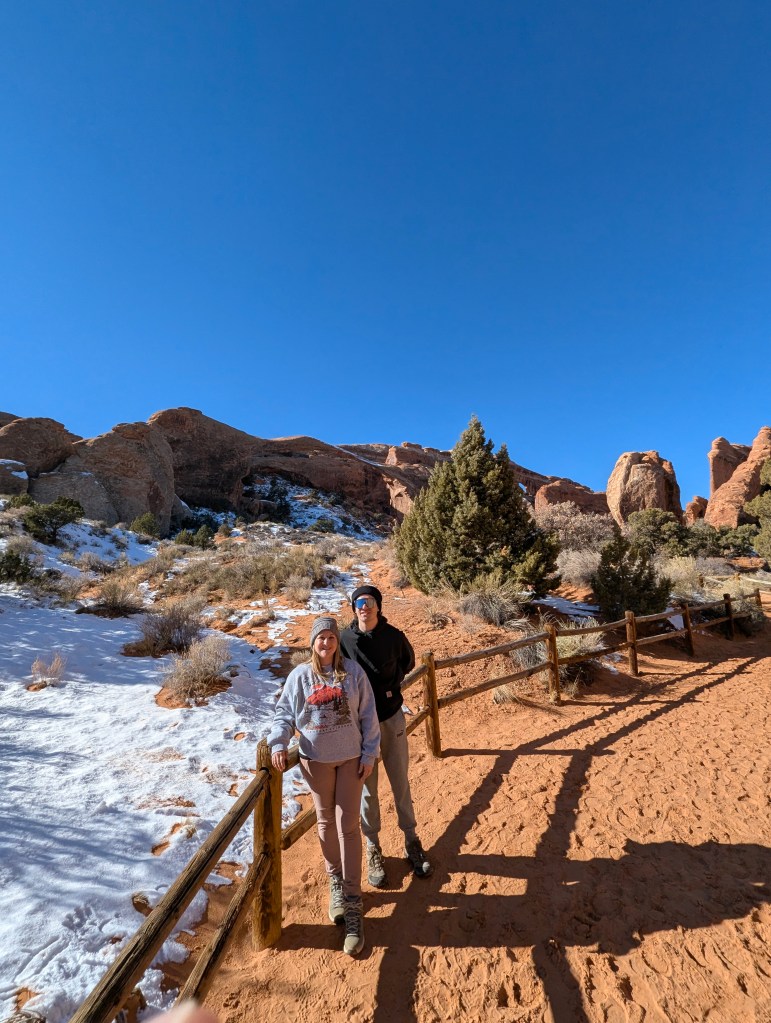

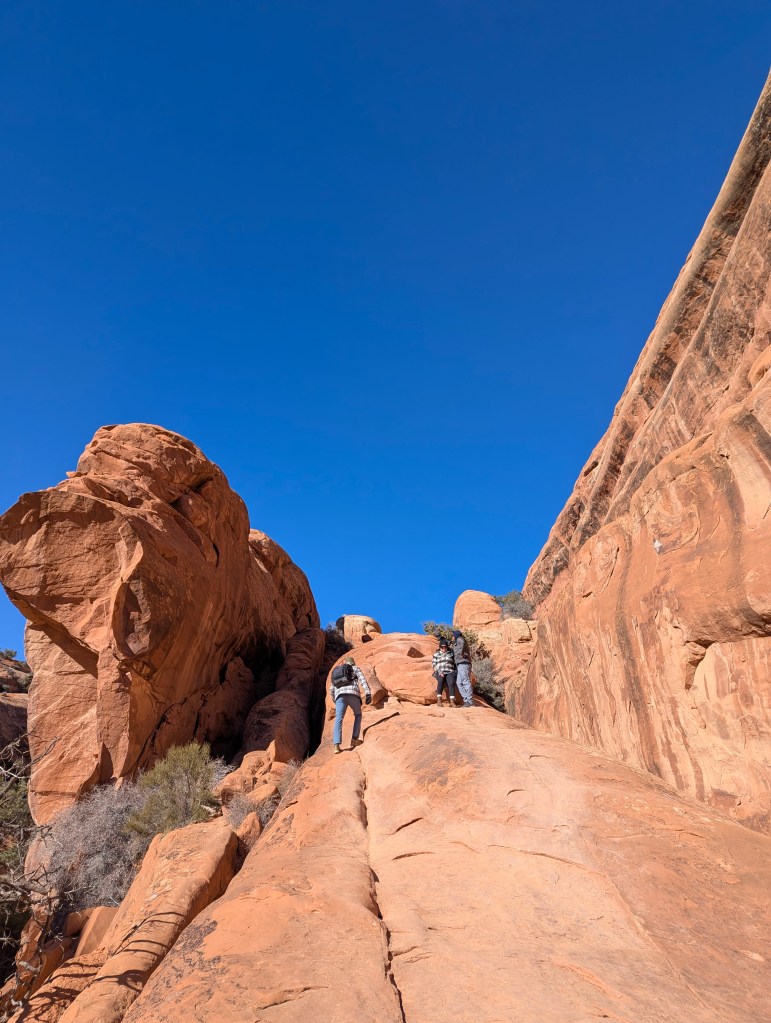
Our hike began from the parking lot and meandered down the trail for about a mile towards Landscape Arch. Other than being a bit chilly due to the cool temps the hike was very pleasant and is simple enough for families with small children; however I wouldn’t recommend hiking beyond Landscape Arch with small children, especially in the winter. The rest of the trail is very steep with large drop offs and quite treacherous in numerous places. We did see several families on the trail, multiple with babies or very small children in tow attempt to hike up to Partition Arch and beyond, but I really wouldn’t advise attempting this during the cold months when snow and ice on the ground make the trail very slick and impassible in several areas.
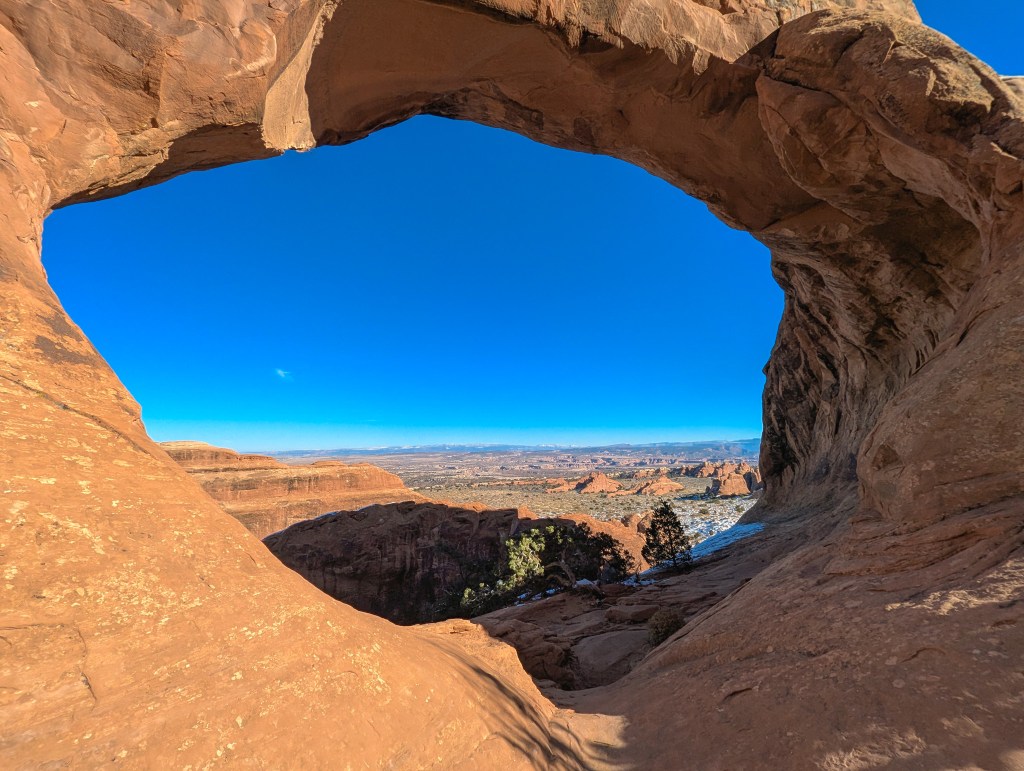
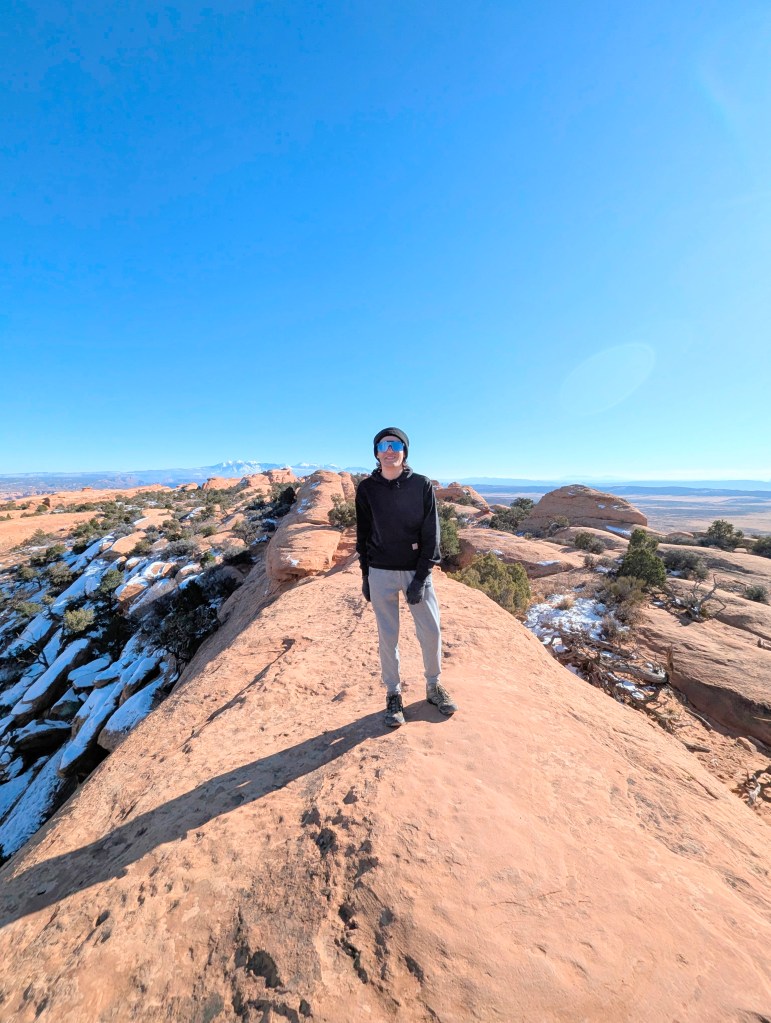
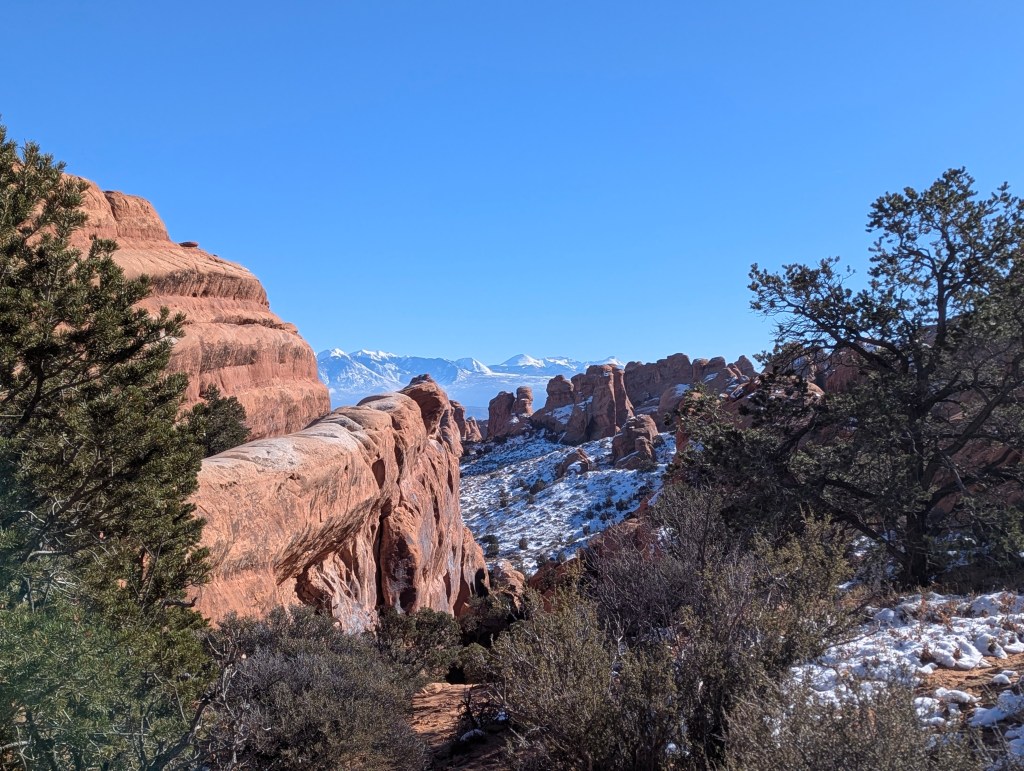
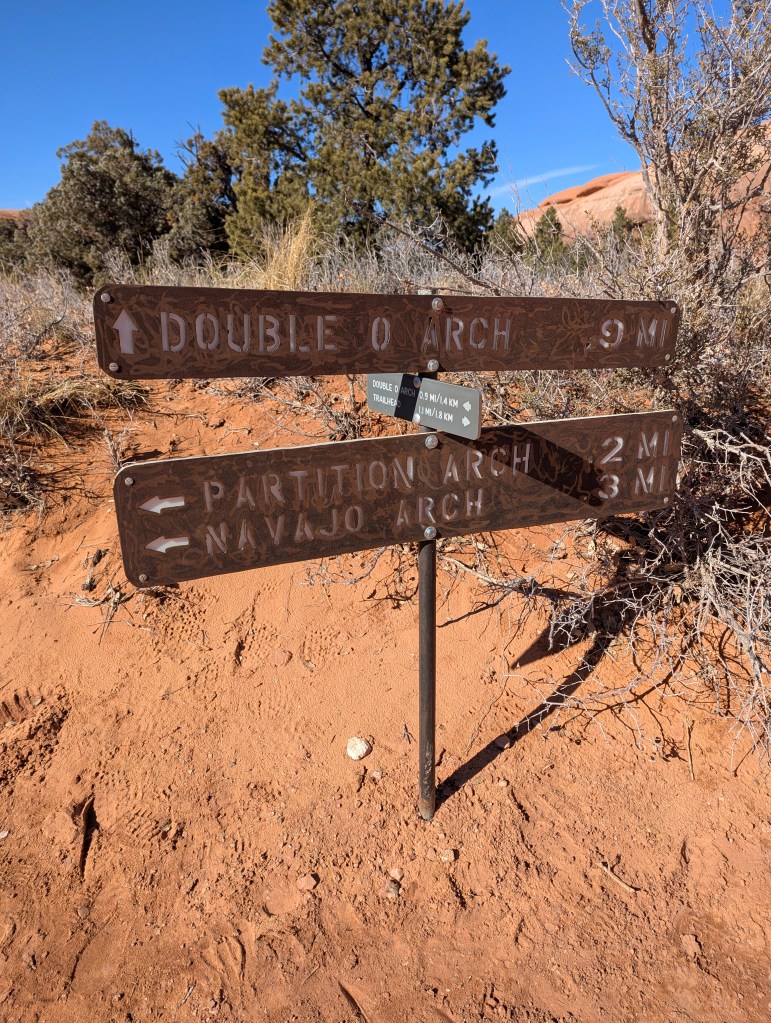
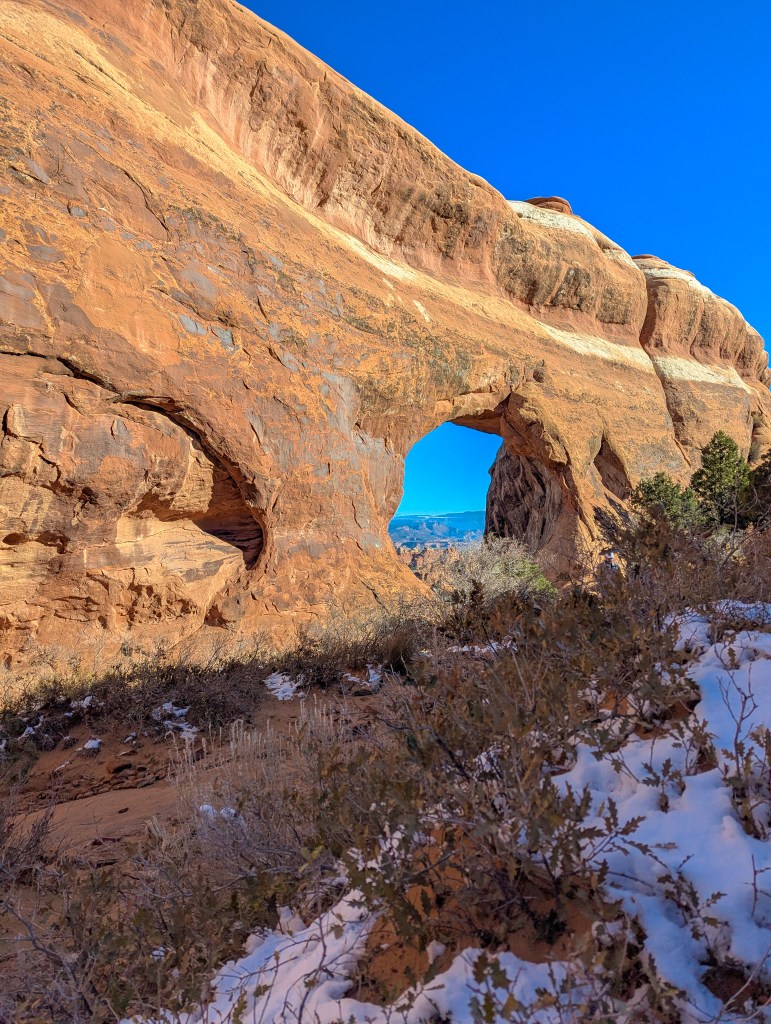
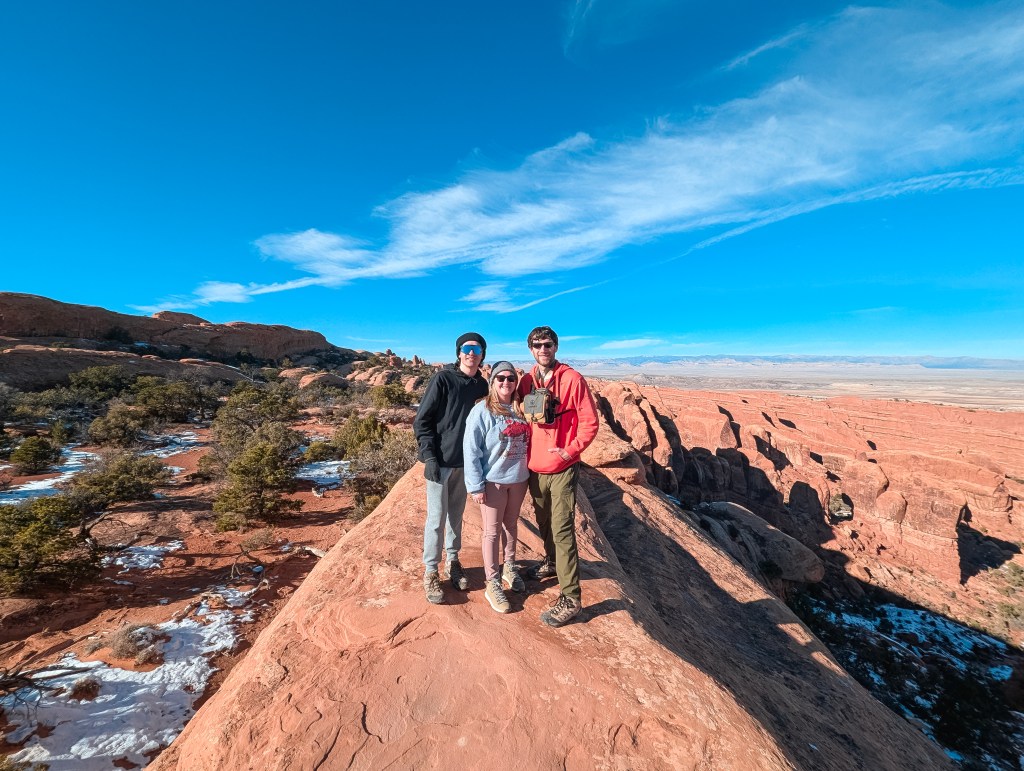
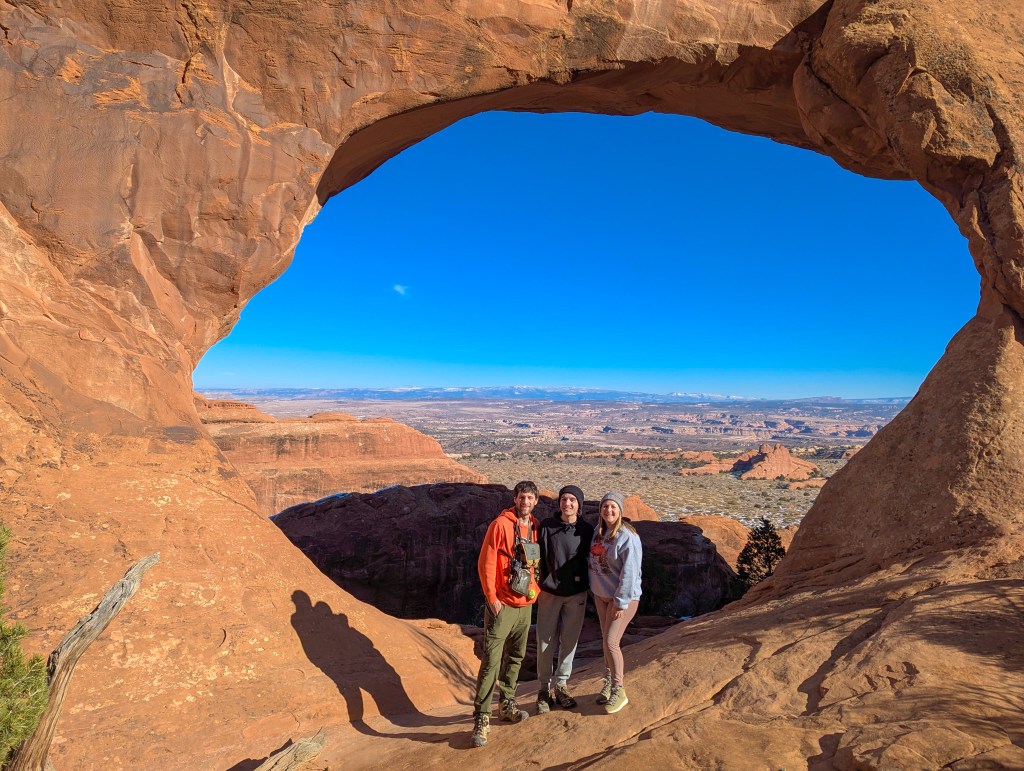
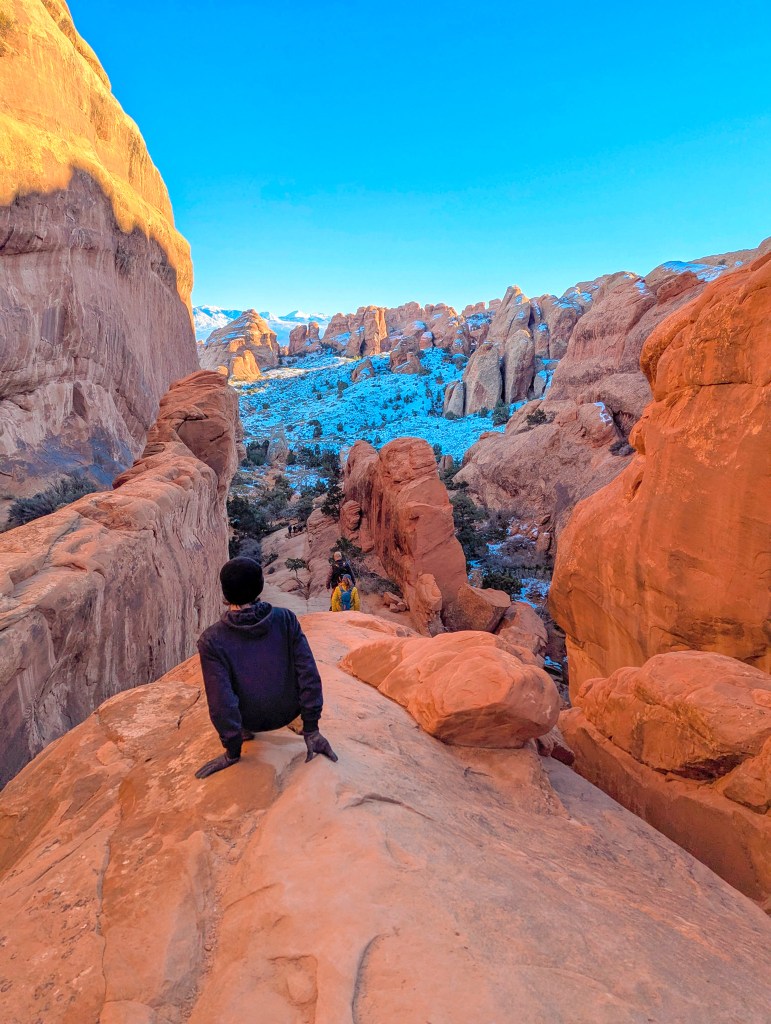
Once you climb up the steep rock face and reach the top you will find a trail marker that provides information on the options of trails you can take: Partition Arch, Navajo Arch, or continuing on towards Double Arches. We chose to take the detour to see Partition Arch which is quite spectacular. The arch opens up to a 180 degree view of the valley below, mountains in the distance and several arches off in the distance. It truly is a sight to behold and if you’re able we recommend walking down into the large arch opening to observe the view. The upper rock opening (smaller arch) is a bit more difficult to access and could lead to serious injury or death if you attempt to sit in the hole (we saw multiple people try this but we wouldn’t recommend it. *My husband is 6’3 and had a hard time gaining the leverage he would have needed to “hop” up into the tiny ledge at this rock opening. So he decided it wasn’t worth it to risk attempting to climb up onto the ledge. While we were here we enjoyed the views, snapped some amazing photos and followed the path back to the main trail.
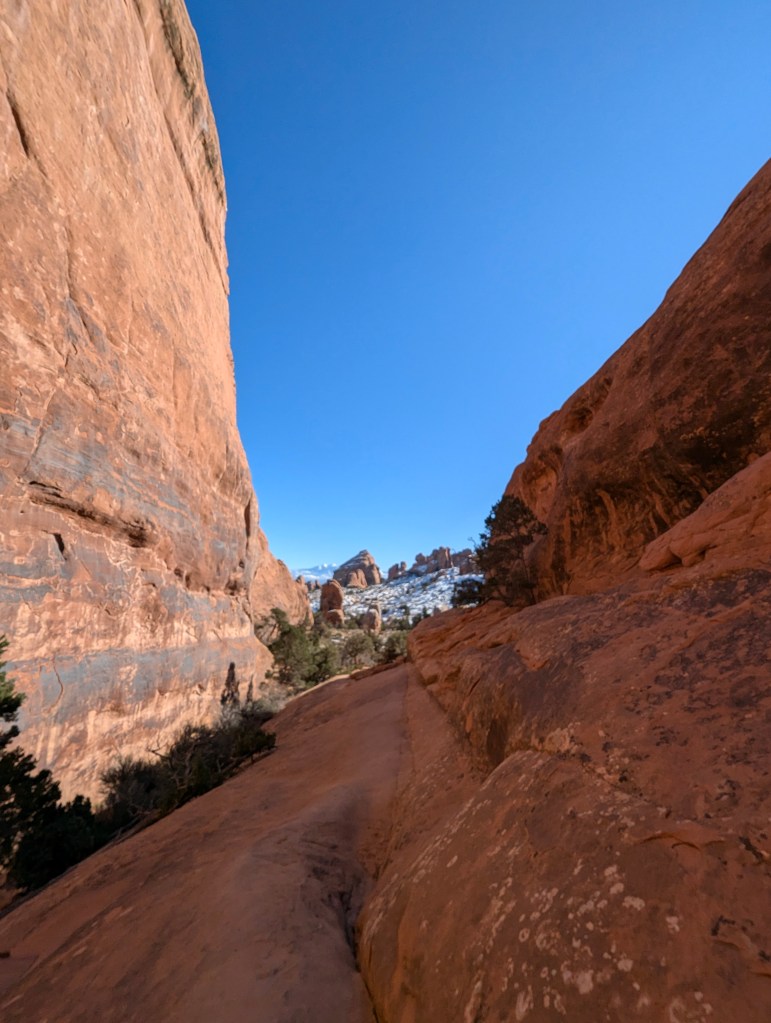

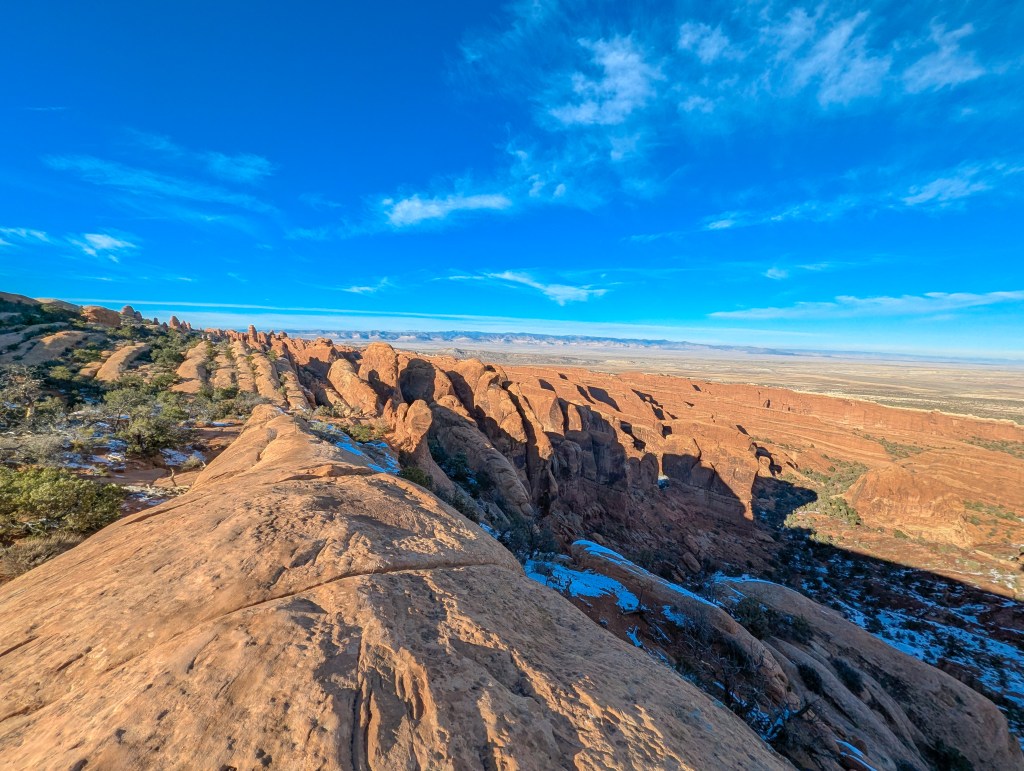
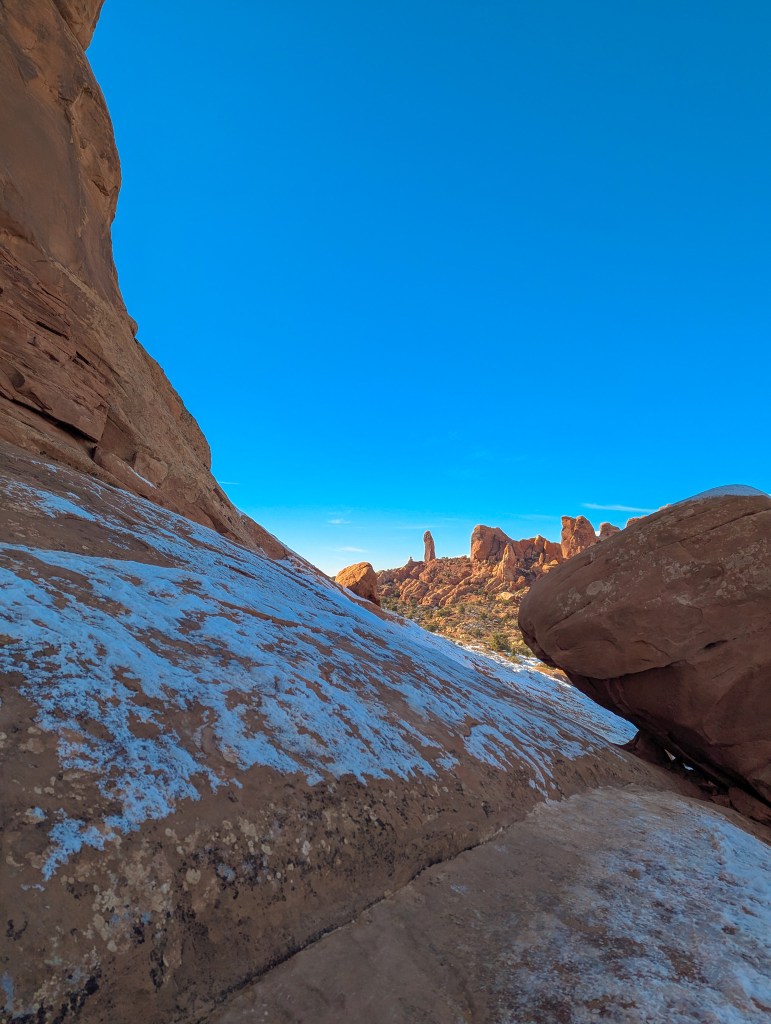
We decided to continue on towards the Double Arch in hopes of exploring that part of the trail. This required some improvising and walking along tight crevices, squeezing between massive rocks & scaling huge boulders, jumping across cracks between the rocks and walking across the longest rock ledge we’ve ever seen! We stopped to see the broken Arch overlook before continuing on towards Double Arch. Unfortunately about 100 yards from the Arch we ran into a large icy patch on an extremely narrow slanted section of the trail that was unpassible without crampons (which we didn’t have) so we had to turn back just short of reaching our destination. It was a huge disappointment to hike that far and be so close to making it but not able to safely continue.
Lesson learned. Always pack crampons or ice spiked shoes if hiking in high altitudes during winter. You just never know when a huge ice patch will pop up and threaten to keep you from finishing your hike, force you to stop and turn back without reaching your goal or view you came to see. Going forward, we will always carry crampons with us during our winter hikes so we’ll be prepared for whatever the trail throws at us 😉
Have you ever hiked in a location like this during winter? Did you need crampons or ice/snow gear to complete your winter hike? Save this post for reference & let me know if you’d like to learn more about the other hikes we did in Arches NP in the comments
Until next time, may all your adventures bring you joy ❤
~Krista

All rights reserved Stampsinmypassport.com copywright 2025


Leave a comment